I’ve found that a lot of the joy I take out of corset making comes in the little details. From embellishment to hand finishing binding, I love making something look really clean and lovely so that the shape of the corset can really shine. In this article, I’ll walk you through how to install a floating lining, hand finish your binding, and neatly miter the corners of binding at points, all to produce a corset that looks as neat and clean on the inside as it does on the outside.
Installing a Floating Lining
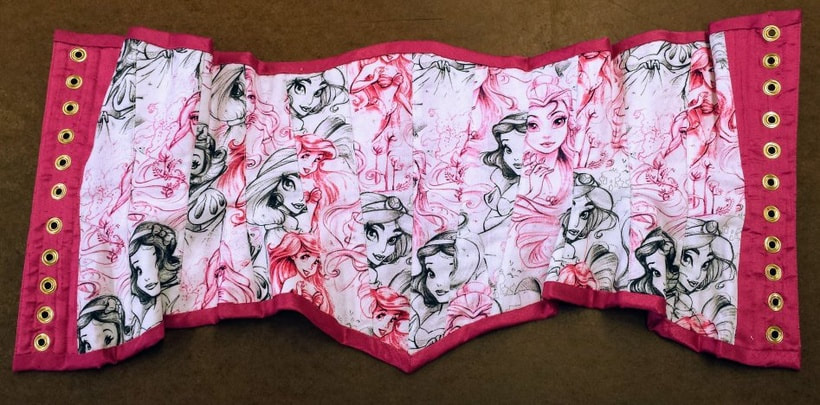
There are lots of ways to finish the insides of a corset neatly. You can do welt seams, cover your seams with boning channels, etc. My favorite method, and the one I find to be the least fussy, is inserting a floating lining. Personally, I love to use fun cotton prints for my linings, as it gives the corset a bit of personality that’s a fun secret. However, I’ve seen plain linings and linings that have things like brand logos printed on them as well.
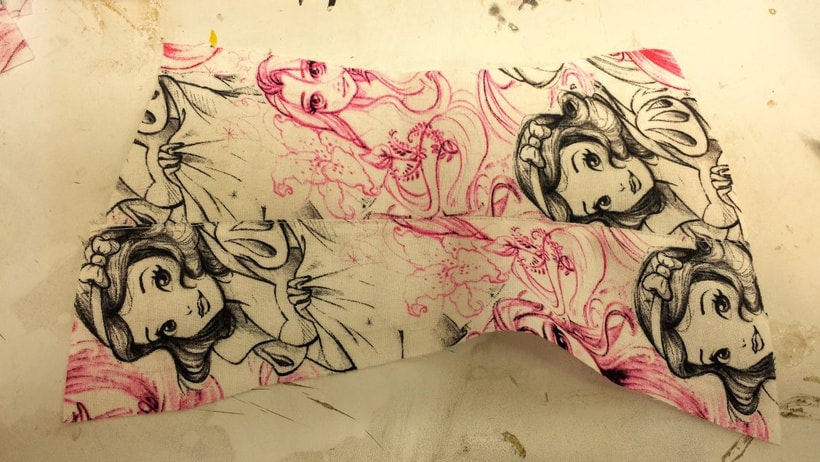
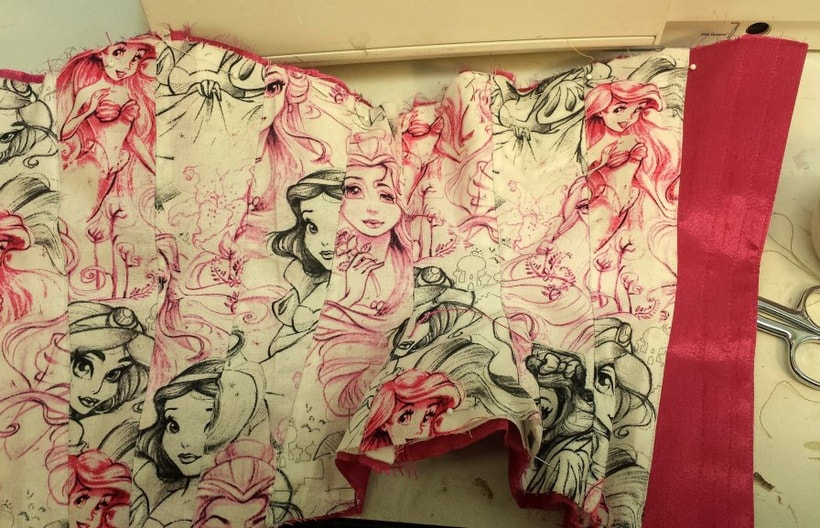
Step One: Cut Pieces
The first thing to do is to cut out both your lining and facing pieces. My example is a closed front corset, so my facings are only the last panels, but for a corset with a busk in the front (or any other front closure), you should also cut facings for the front pieces. All of the other pieces are cut from the lining fabric.
Installing a Floating Lining
There are lots of ways to finish the insides of a corset neatly. You can do welt seams, cover your seams with boning channels, etc. My favorite method, and the one I find to be the least fussy, is inserting a floating lining. Personally, I love to use fun cotton prints for my linings, as it gives the corset a bit of personality that’s a fun secret. However, I’ve seen plain linings and linings that have things like brand logos printed on them as well.
Step One: Cut Pieces
The first thing to do is to cut out both your lining and facing pieces. My example is a closed front corset, so my facings are only the last panels, but for a corset with a busk in the front (or any other front closure), you should also cut facings for the front pieces. All of the other pieces are cut from the lining fabric.
Step Two: Attach Facings
Once the corset is assembled, waist tape is installed, and boning channels are stitched, attach your facings. (Some people like to install the busk before attaching their first panel. Order of operations is largely personal preference, but I’ll be listing the way that I go about assembly.) The front facing is used to install any front closure like a busk or zipper, and the back facings are used to create sandwich-style boning channels for the center back bones around the grommets.
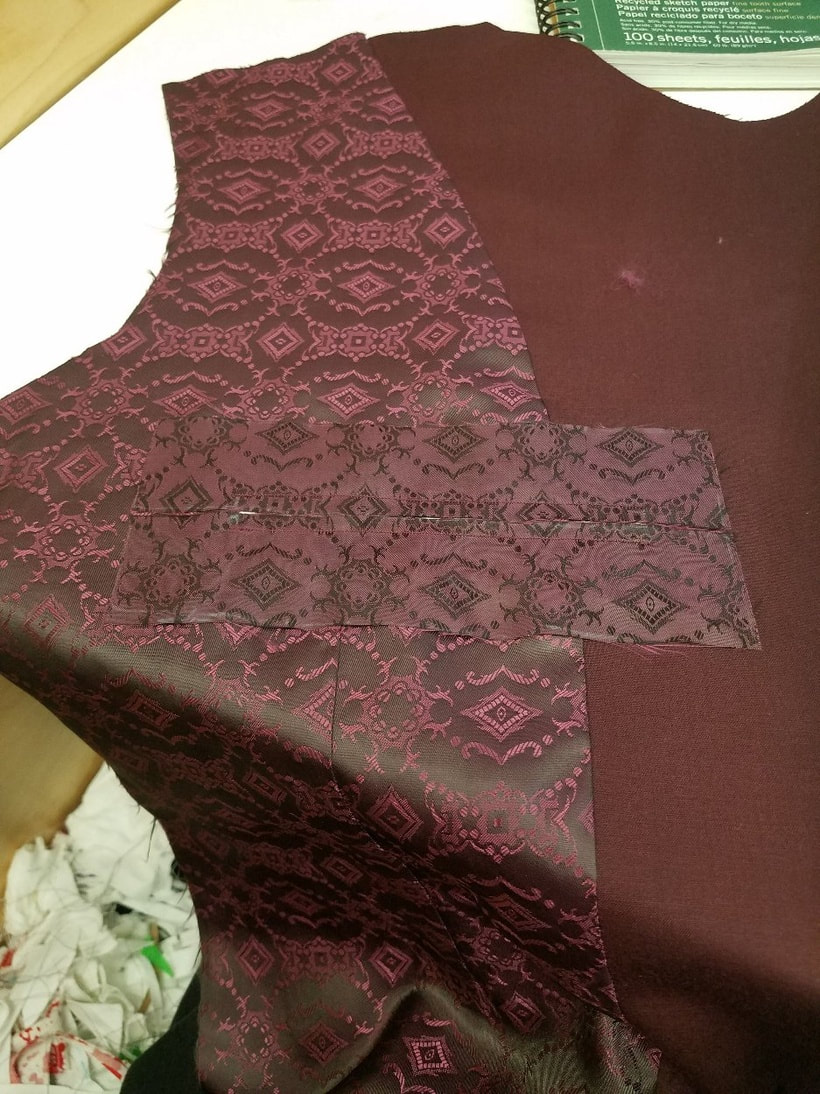
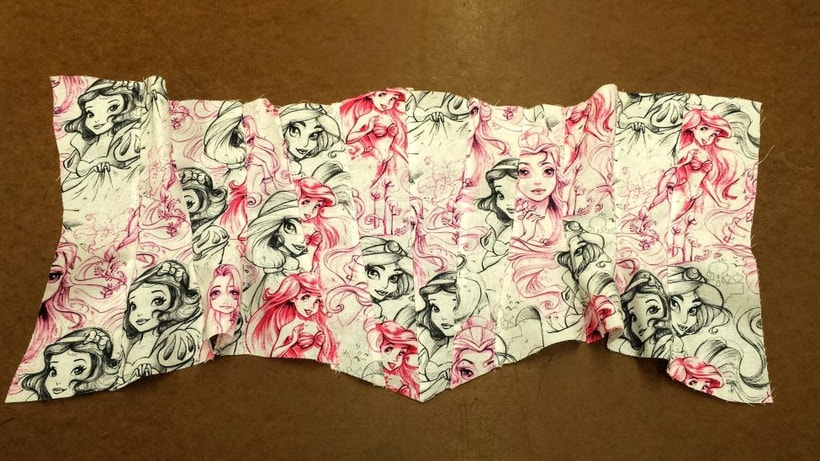
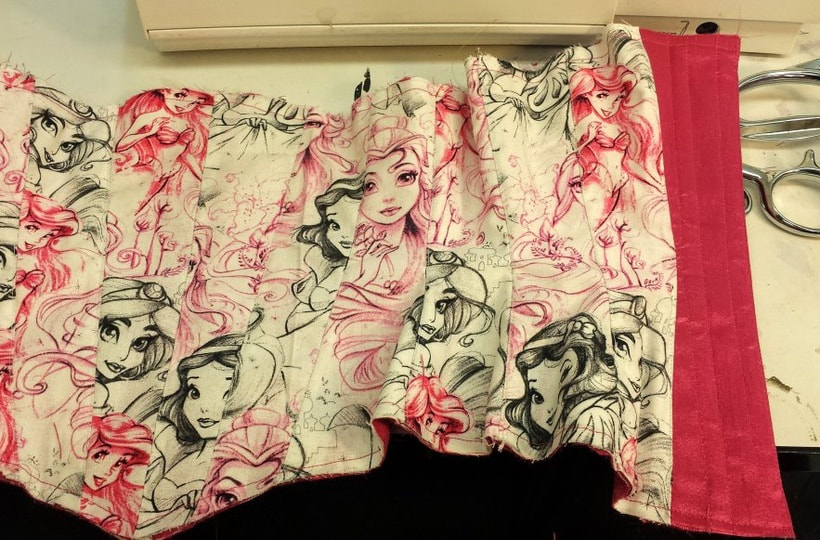
Step Three: Assemble Lining
For the actual cotton lining, go ahead and stitch the entire lining together (or in two halves if your corset has an open front) before installing it. I like to press my seams to the side and topstitch, as shown, then trim down the seam allowance to around ¼”
Once the corset is assembled, waist tape is installed, and boning channels are stitched, attach your facings. (Some people like to install the busk before attaching their first panel. Order of operations is largely personal preference, but I’ll be listing the way that I go about assembly.) The front facing is used to install any front closure like a busk or zipper, and the back facings are used to create sandwich-style boning channels for the center back bones around the grommets.
Step Three: Assemble Lining
For the actual cotton lining, go ahead and stitch the entire lining together (or in two halves if your corset has an open front) before installing it. I like to press my seams to the side and topstitch, as shown, then trim down the seam allowance to around ¼”
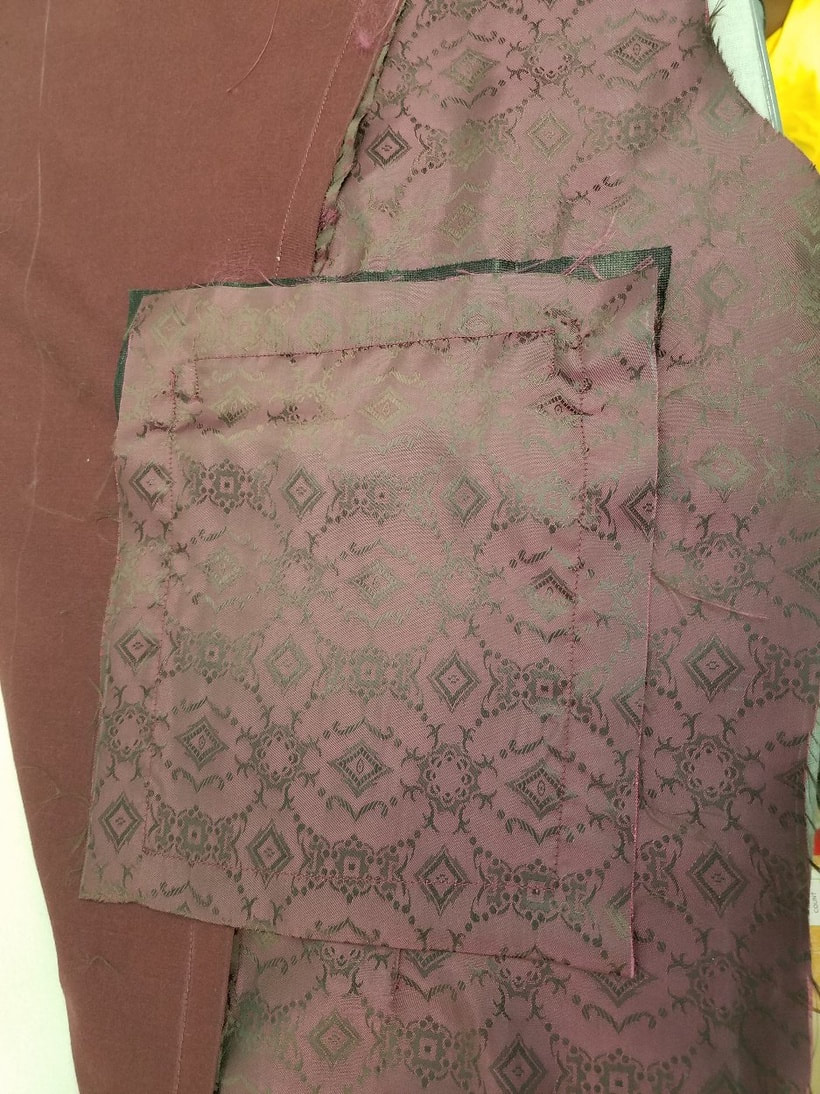
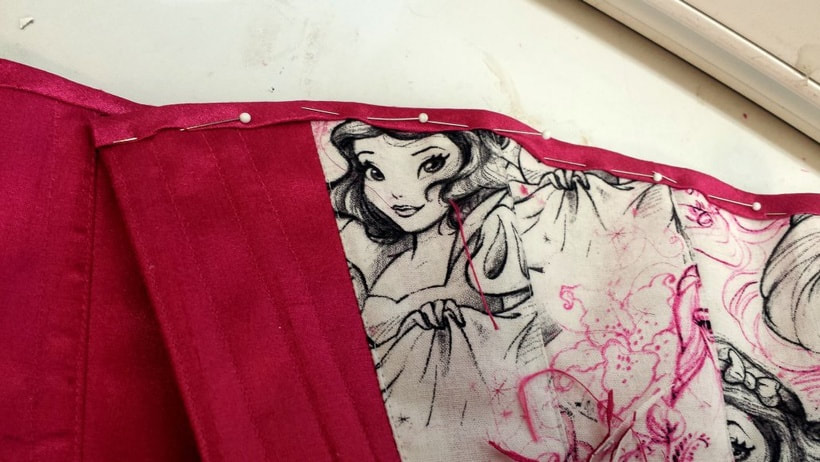
Step Four: Insert Lining
With the lining and corset assembled separately, the next step is to attach the lining to the facings. Stitch the lining to one of the facings, topstitch, and trim the seam allowance. Then repeat on the other facing, making sure that the lining isn’t twisted at all and will lay correctly once turned.
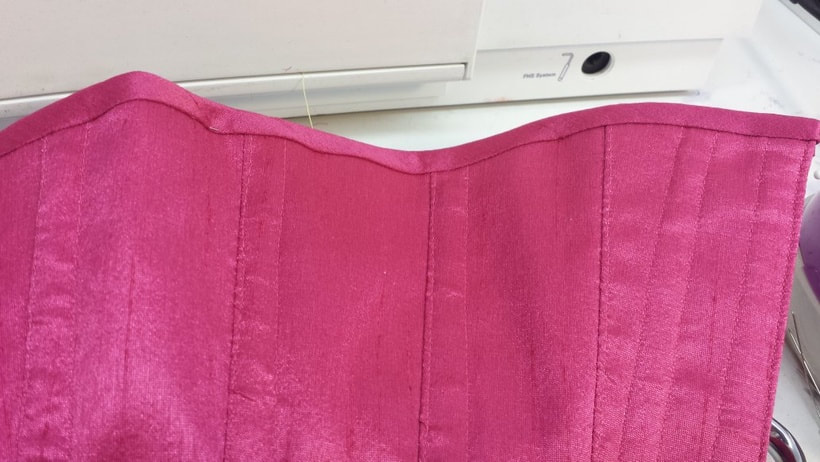
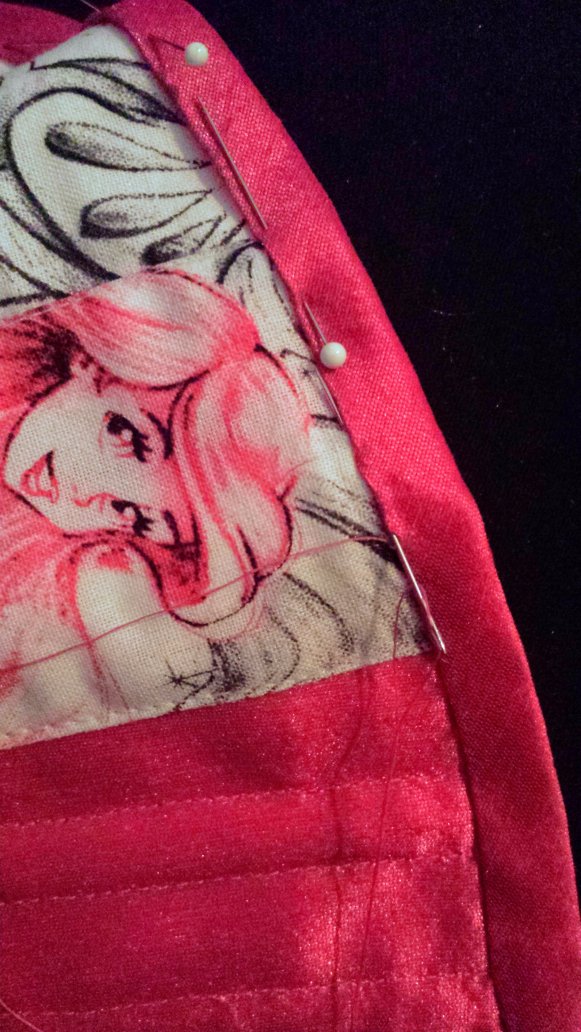
Once the lining is stitched to the facings, pin the lining to the outer layer along the top and bottom, making sure everything fits nicely and lines up. At this point, I like to insert my boning. You can do it earlier, but I find that turning the lining is easier if the corset doesn’t have bones in it yet, and I don’t have to worry about them falling out while I handle the corset by doing it later in the process. Once the bones are inserted, use a zipper foot to stitch along the top and bottom edges of the corset. This attaches the lining to the outer layer in addition to keeping the boning in place. Now your lining is installed and you’re ready to bind the edges of your corset!
Hand Finishing Binding
On to the binding! While you can hand finish binding even without having a floating lining, I actually find that installing a lining makes hand finishing binding much easier, since you don’t have to hand stitch through coutil on the sections of the corset that are lined. The first step is to cut your bias. I like a fairly narrow binding, generally around ⅜” finished, so I usually cut myself 1 ½” strips of bias to bind with. You may find yourself cutting wider strips if you prefer the look of a wider bound edge. At this point, it’s important to note that I don’t press my bias strip into folds before attaching it to the corset. I’ve found that this provides a cleaner finish, especially on narrow binding, as it allows me to pull the bias snugly around the edge of the corset, whereas if there is a fold pressed in, that determines where the edge is and there may be a slight bit of overhang at the pressed edge that isn’t filled in by the layers of the corset.
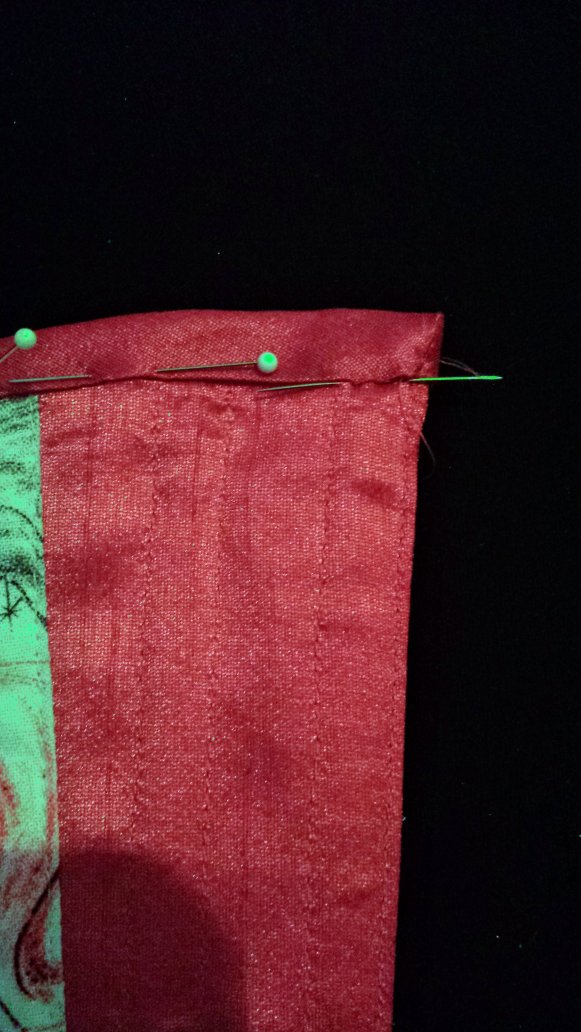
Once your bias is cut, pin it to the right side of the corset. I like to make sure that there is a bit of tension on it when I pin the bias on, just enough that it won’t bubble when I stitch it but not so much that the bias is stretching out to its maximum, since that will reduce the width of your strip.

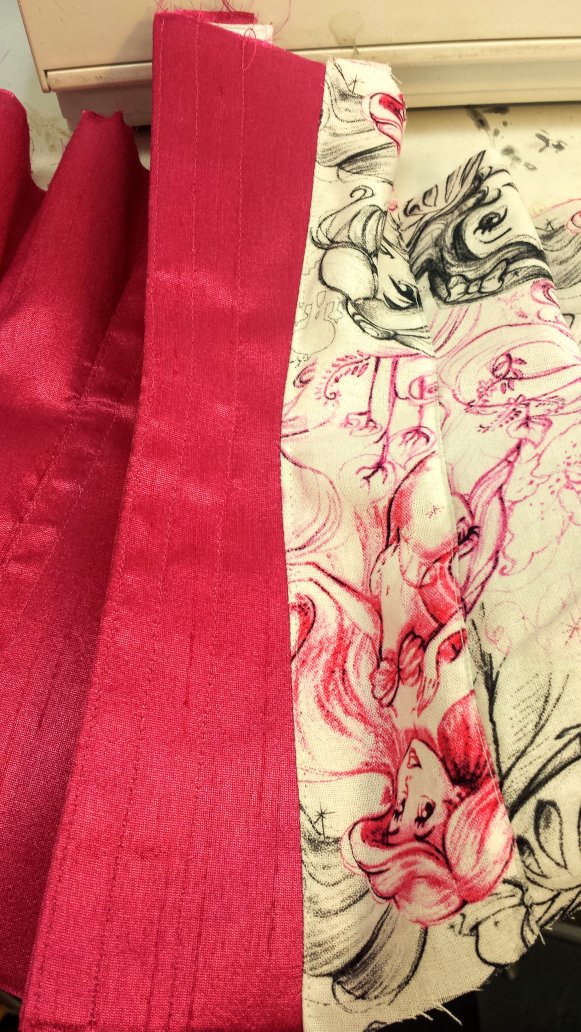
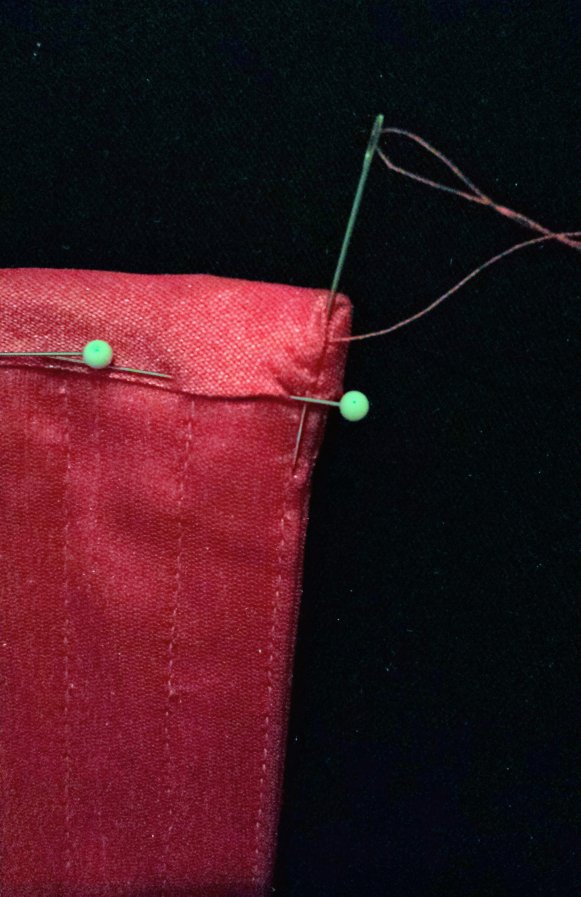
Next, go ahead and machine stitch that bias on the distance from the edge of the corset that you would like your bias width to be. In my case, I stitch about ⅜” away from the edge of the corset, although sometimes I will trim the edge down a bit after I stitch the bias on, so that it’s nice and even and narrow. Once your bias is machine stitched on, turn it over to the back side of the corset, folding the raw edge underneath. Don’t be afraid to turn it nice and tight, as the strength fabric of the corset should be stiff enough to support a nice, crisp edge without pressing. Pin the bias from the inside of the corset, as that’s the side you will be stitching from next.
Once your bias is all pinned in place, it’s time to stitch it. I like to use a nice, invisible slip stitch on my binding so that no stitching shows at all, even on the inside. A really neat slip stitch (or tunnel stitch) is achieved by making sure that your needle is entering and exiting the fabric beneath the overlap of the binding and corset, rather than the very edge of the binding, where you might see threads peeking through. Another tip for an absolutely invisible stitch is to make sure that there’s no gap between your stitches at all. Where one stitch exits the binding, the next should immediately go into the lining with no gap for thread to potentially show. And lastly, burying your knots at the start and finish of your stitching will hide any last bits of evidence of the stitch. When you first start stitching, simply take your first stitch inside of the binding so that the knot is invisible from the outside. When you tie off at the end of your stitching, tie off as far inside the binding as you can get, and then after tying the knot, put your needle in through the binding, pull the thread taut, and use that to pull the knot into the binding, burying it. Then, with tension on the thread, snip your remaining thread off right at the fabric.
Mitering Binding
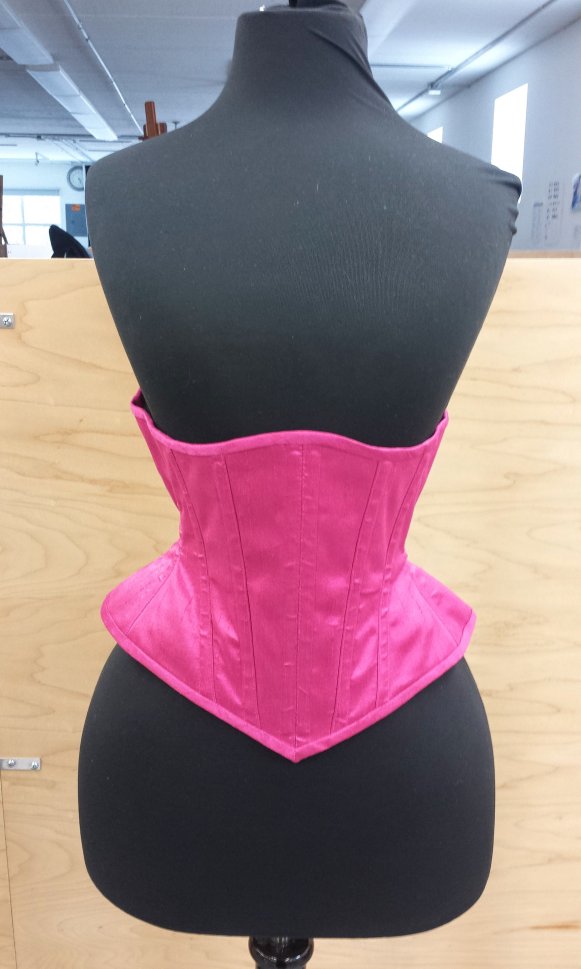
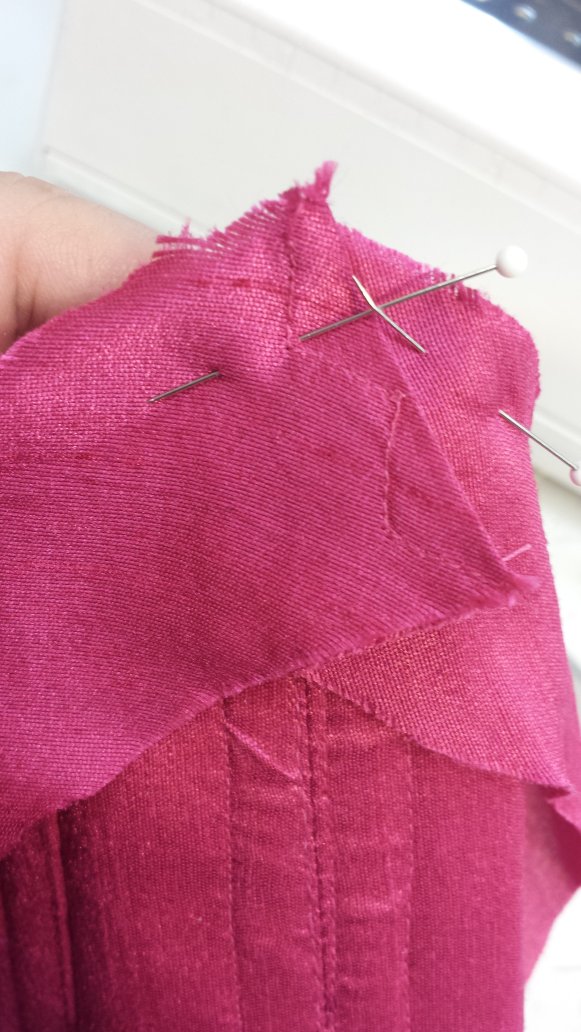
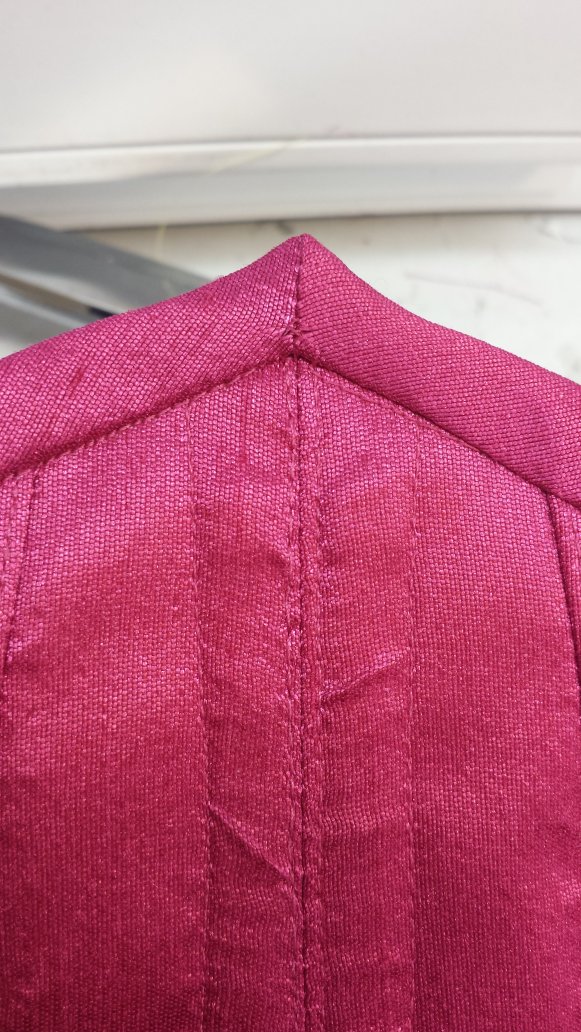
Mitering corners is something that I haven’t seen much in corsetry, but I’m really a fan of it if you want to take your binding to the next level. It’s perfect for those stylistic pointed busts or pointed center fronts without closures and will give you a finish that’s less bulky and more aesthetically pleasing than overlapping your binding.
In my demonstration, I’ve mitered the bottom center front of a closed front corset by pre-stitching the binding at that point. I’ve also mitered corners before by putting in a little tuck while I stitch the binding on by machine and then slip stitching it down when I go in and finish the binding by hand. I find that doing it by machine gives a neater, crisper result but if your binding is sliding around a lot and you’re unsure about being able to line up the pre-stitched point exactly, finishing it by hand can work in a pinch.
All of these techniques combined can result in a corset that looks beautiful inside as well as outside!